0、作者杂谈
CSDN大多数都是落后的,要么是到处复制粘贴的,对于初学者我来说困惑了很久,大多数CSDN文章都是使用旧的API ,已经被否决了,于是我读一些官方文档,和一些开源项目音视频的输出过程,写出这篇文章希望能帮助到入门音视频的人。
感觉这个专栏没多少人看呃,哎~
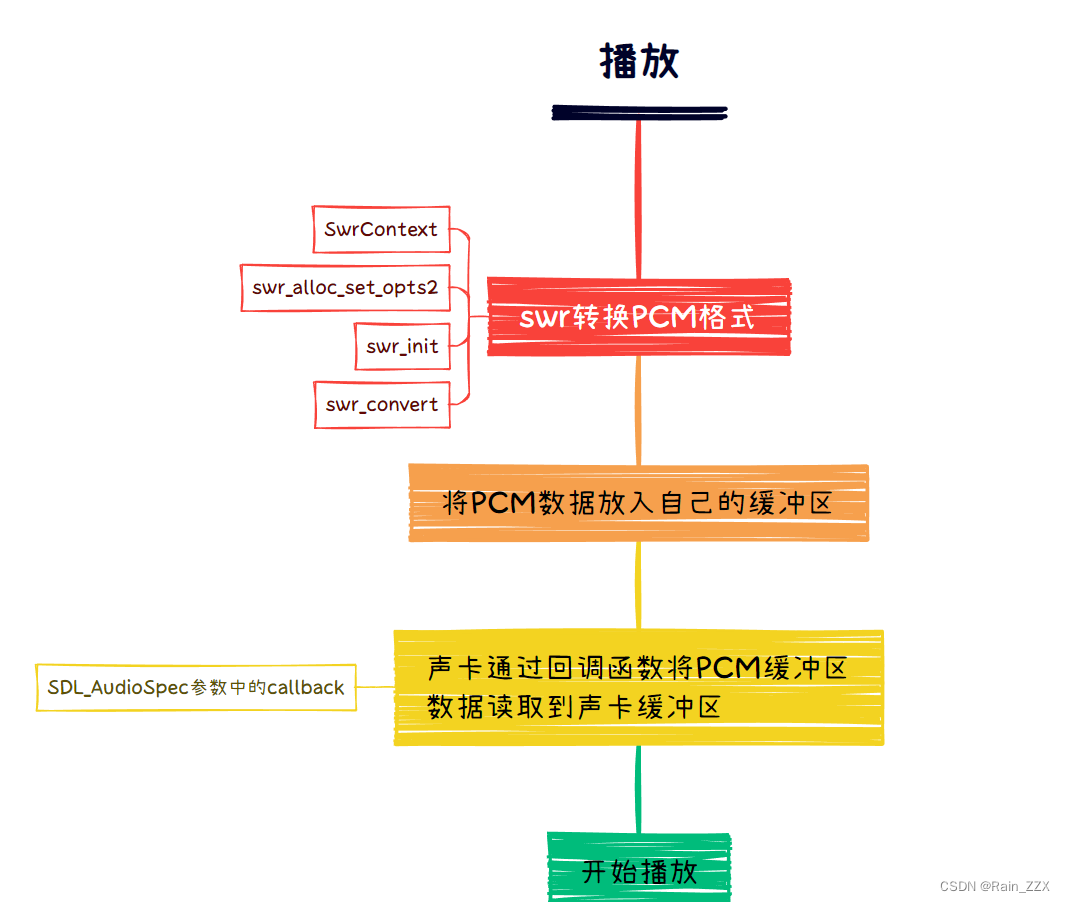
一、流程导图
其实与视频解码播放流程差不了太多,前面部分和专栏(一)一样
ffmpeg学习(一)
后面的话是添加了回调函数用于声卡通过回调函数拉数据到声卡缓冲区
二、实现过程
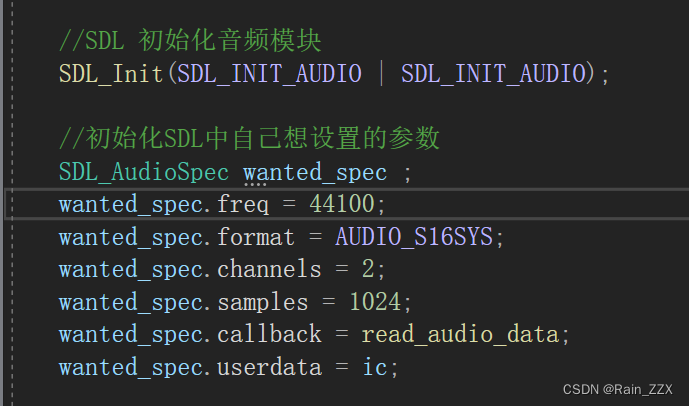
SDL参数
转码参数和一开始的参数

这里新API中将AVChannelLayout分离出来了,我们需要自己创建一个AVChannelLayout来获得声道布局为后面转码参数做铺垫
转码器

数据转换格式

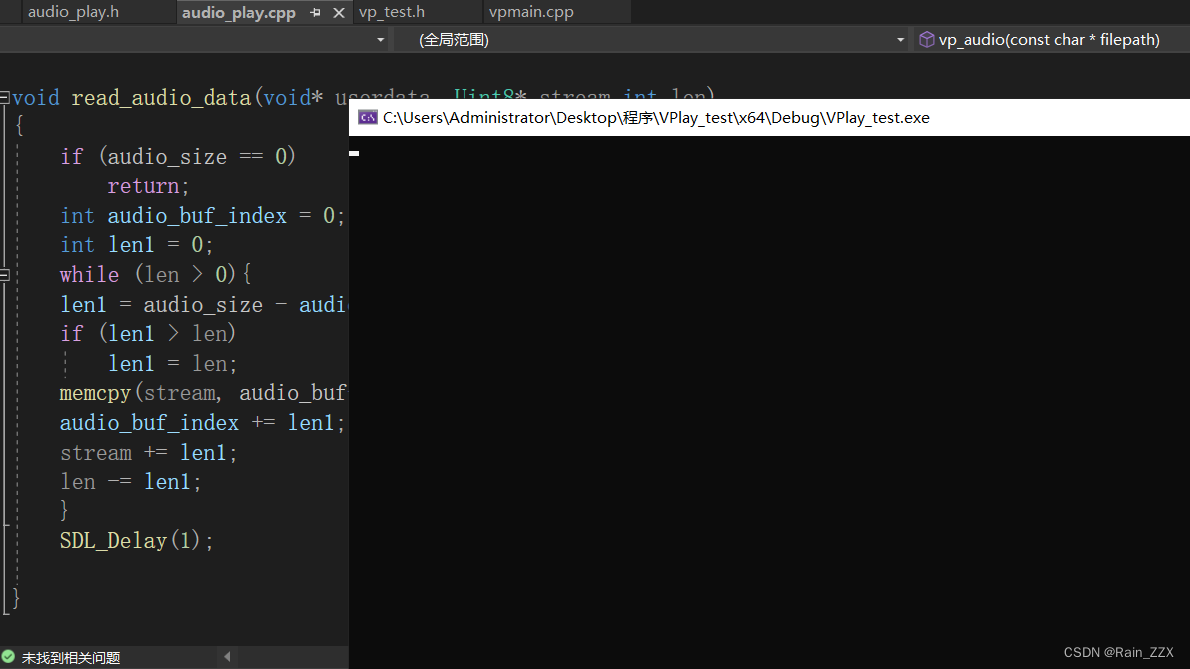
这里SDL_Delay主要是防止声音播放过快。
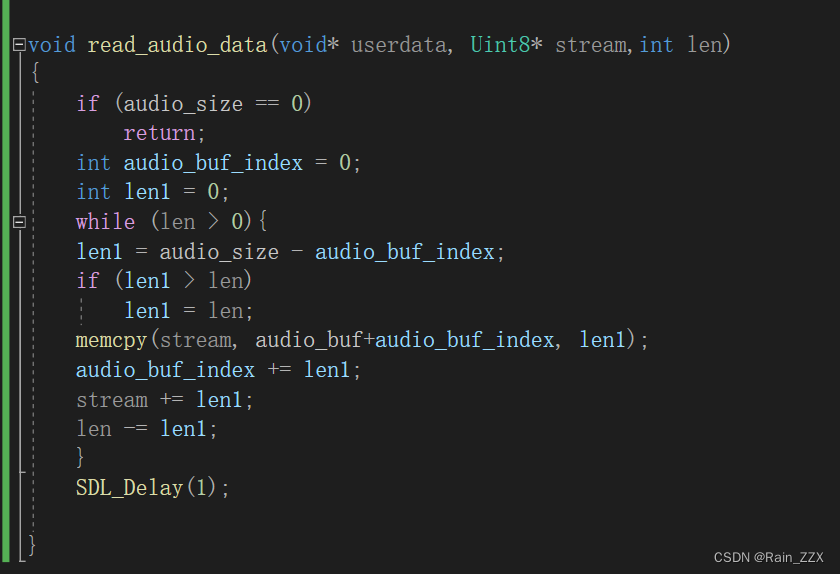
回调函数
播放过程
😔 这里播放的是瓦罗兰特的die for you 可惜你们听不到 😄 希望这篇文章对读者有收获!
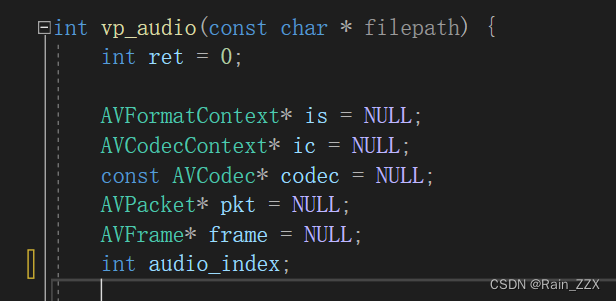
源代码
#include<iostream>
#include "vp_test.h"
 static uint8_t* audio_buf = new uint8_t[4096];
 static int audio_size;

void read_audio_data(void* userdata, Uint8* stream,int len)
{
	if (audio_size == 0)
		return;
	int audio_buf_index = 0;
	int len1 = 0;
	while (len > 0){
	len1 = audio_size - audio_buf_index;
	if (len1 > len)
		len1 = len;
	memcpy(stream, audio_buf+audio_buf_index, len1);
	audio_buf_index += len1;
	stream += len1;
	len -= len1;
	}
	SDL_Delay(1);

}

int vp_audio(const char * filepath) {
	int ret = 0;

	AVFormatContext* is = NULL;
	AVCodecContext* ic = NULL;
	const AVCodec* codec = NULL;
	AVPacket* pkt = NULL;
	AVFrame* frame = NULL;
	int audio_index;

	//init ffmpeg
	is = avformat_alloc_context();
	pkt = av_packet_alloc();
    frame = av_frame_alloc();

	//初始化网络库
	avformat_network_init();

	if (avformat_open_input(&is, filepath, NULL, NULL) != 0) {
		return -1;
	}

	if (avformat_find_stream_info(is, NULL) < 0) {
		return -1;
	}
	//查找音频解码器
	for (int i = 0; i < is->nb_streams; i++) {
		AVStream *stream = NULL;
		stream = is->streams[i];
		if (stream->codecpar->codec_type == AVMEDIA_TYPE_AUDIO) {
			codec = avcodec_find_decoder(stream->codecpar->codec_id);
			ic = avcodec_alloc_context3(codec);
			avcodec_parameters_to_context(ic,stream->codecpar);
			audio_index = i;
		}
	}
	//打开解码器
	if (avcodec_open2(ic, codec, NULL) != 0)
		return -1;


	//SDL 初始化音频模块
	SDL_Init(SDL_INIT_AUDIO | SDL_INIT_AUDIO);

	//初始化SDL中自己想设置的参数
	SDL_AudioSpec wanted_spec ;
	wanted_spec.freq = 44100;
	wanted_spec.format = AUDIO_S16SYS;
	wanted_spec.channels = 2;
	wanted_spec.samples = 1024;
	wanted_spec.callback = read_audio_data;
	wanted_spec.userdata = ic;

	//设置转码参数(转码成我们SDL播放的音频参数格式)
	AVChannelLayout out_ch;
	av_channel_layout_default(&out_ch, 2);
	int out_nb_samples = 1024;
	enum AVSampleFormat sample_fmt = AV_SAMPLE_FMT_S16;
	int out_sample_rate = 44100;

	// 解码前的格式参数
	AVChannelLayout in_ch ;
	av_channel_layout_default(&in_ch, 2);
	enum AVSampleFormat in_sample_fmt=ic->sample_fmt;
	int in_sample_rate=ic->sample_rate;

	//转码器
	SwrContext* swr_ctx = NULL;
	swr_alloc_set_opts2(
		&swr_ctx,
		&out_ch,
		sample_fmt,
		out_sample_rate,
		&in_ch,
		in_sample_fmt,
		in_sample_rate,
		0, NULL);

	swr_init(swr_ctx);
	//打开音频播放设备
	if (SDL_OpenAudio(&wanted_spec, NULL) < 0)
		return -1;
	//开始或暂停播放
	SDL_PauseAudio(0);//开始调用回调函数填充缓冲区
	while (true) {
		while (true) {
			if (av_read_frame(is, pkt))
				goto end;//读取完毕
		if (pkt->stream_index == audio_index)
			break;
		}
		//发送编码包
		avcodec_send_packet(ic, pkt);
		av_frame_unref(frame);
		if (avcodec_receive_frame(ic, frame) == 0) {
			//数据转换
			int upper_bound_samples = swr_get_out_samples(swr_ctx, frame->nb_samples);
			uint8_t* out[4] = { 0 };
			out[0] = (uint8_t*)av_malloc(upper_bound_samples * 2 * 2);
			int samples = swr_convert(
				swr_ctx,
				out,
				upper_bound_samples,
				(const uint8_t**)frame->data,
				frame->nb_samples);
			//将数据写入buffer区
			memcpy(audio_buf, out[0], samples * 4);
			audio_size = samples * 4;
			SDL_Delay(19);
		}
	}
end:
	if (is)
		avformat_free_context(is);
	if (ic)
		avcodec_free_context(&ic);
	if (pkt)
		av_packet_free(&pkt);
	if (frame)
		av_frame_free(&frame);
	if (swr_ctx)
		swr_free(&swr_ctx);
	SDL_CloseAudio();
	SDL_Quit();
	return 0;
}